 ChatGPT
 Perplexity
 Gemini
 Claude
You can create an AI image without knowing how to draw. Describe what you want, choose a model and image size, then generate and save the result. Those are the three steps you need to get started.
For example, try this:
A narrow Kyoto street lined with cherry blossoms at sunset, warm light falling across the stone pavement, natural travel photography.
You do not need special prompt syntax or a long list of technical terms. A clear description of the subject, setting and look is enough for a first attempt.
This guide walks through the process in Mireka, with copyable English prompts, practical image sizes and ways to fix a result that is close but not quite right. It covers making images with an existing AI tool, rather than training an AI model or setting up a local machine-learning environment.
How to create AI images in 3 steps
The basic workflow is similar across image generators. Here, we use Mireka's AI image generator, where you can generate and edit images with different models in the same workspace.
Step 1: Describe the image you want
Open the generator, select Text to Image, and type into the prompt box. A prompt is simply the instruction you give the model.
Start with one subject and a few visible details:
A white cat sitting by a window in soft morning light, realistic photography.“Cat” alone can produce an image, but the setting and lighting give the model a clearer target. You can add more detail after seeing the first result.
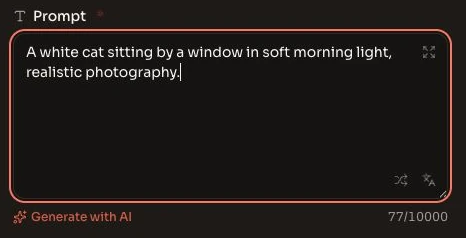
If you are unsure how to expand your idea, use Generate with AI below the prompt field. Describe your theme in ordinary language and use the suggestions to build a more detailed prompt. Read the suggested details before using them: they should still match the image you want.
Step 2: Choose a model and image size
Models differ in how they handle photography, illustration, text and edits to an existing image. Choose one suited to your task, then compare another model if the result misses an important detail.
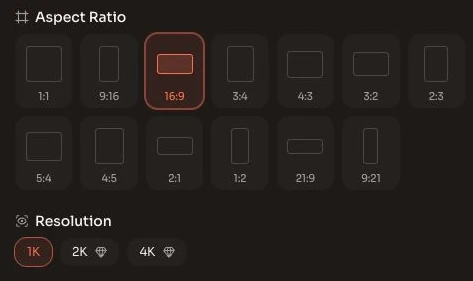
Choose the aspect ratio for the space the image needs to fill:
| Where you will use the image | A useful starting ratio |
|---|---|
| Square social posts or profile images | 1:1 |
| Blog headers or YouTube thumbnails | 16:9 |
| Stories and other vertical mobile content | 9:16 |
| General photography or presentation images | 4:3 or 3:2 |
These are starting points, not upload requirements for every platform. Check the final destination's dimensions before publishing. Choosing the right shape early helps keep faces, products and text away from areas you may need to crop.
Step 3: Generate, review and save
Check the credit cost shown for your settings, then select Generate. When the image is ready, look closely at hands, faces, lettering, product shapes and background details.
If the result needs work, change one thing at a time:
- Too dark: add “bright natural light and a light, neutral color palette.”
- Subject too small: add “close-up composition, with the cat filling most of the frame.”
- Background too busy: add “simple background, shallow depth of field, soft background blur.”
- Wrong mood: replace vague words with “muted colors, gentle light and a calm atmosphere.”
Download the version you like. Keep its prompt and model settings so you can make related images later. Mireka's generation history also helps you compare earlier results as you refine the idea.
What should you put in an AI image prompt?
A useful prompt tells the model what should be visible. Length matters less than clarity and consistency.
Try this formula:
Subject + setting + visual style + composition + lighting or mood
| Part | What to specify | Example |
|---|---|---|
| Subject | Who or what the image is about | A white cat; a glass skincare bottle |
| Setting | Where the subject appears | A sunny windowsill; a clean studio |
| Style | What kind of image you want | Editorial photography; watercolor illustration |
| Composition | Framing and placement | Close-up; full body; product on the right with space on the left |
| Light and mood | Visible qualities | Soft morning light; warm colors; crisp shadows |
Compare these two prompts:
Broad: “A cat.”
More specific:
A white cat resting on a wooden windowsill, soft morning sunlight from the left,
a pale curtain in the background, close-up composition, natural photography,
gentle colors and a calm atmosphere.
You do not need every ingredient every time. Start with the details you care about most, and avoid conflicting instructions such as “minimal background” alongside a long list of background objects.
Three prompt examples to try
The images below show the result areas from the original guide’s screenshots. The surrounding Japanese interface has been cropped out. The prompts are English adaptations of the original examples; a new generation will not be identical.
A natural café photograph
A small café in Tokyo, coffee and a croissant on a wooden table,
natural morning light, muted colors, editorial magazine photography.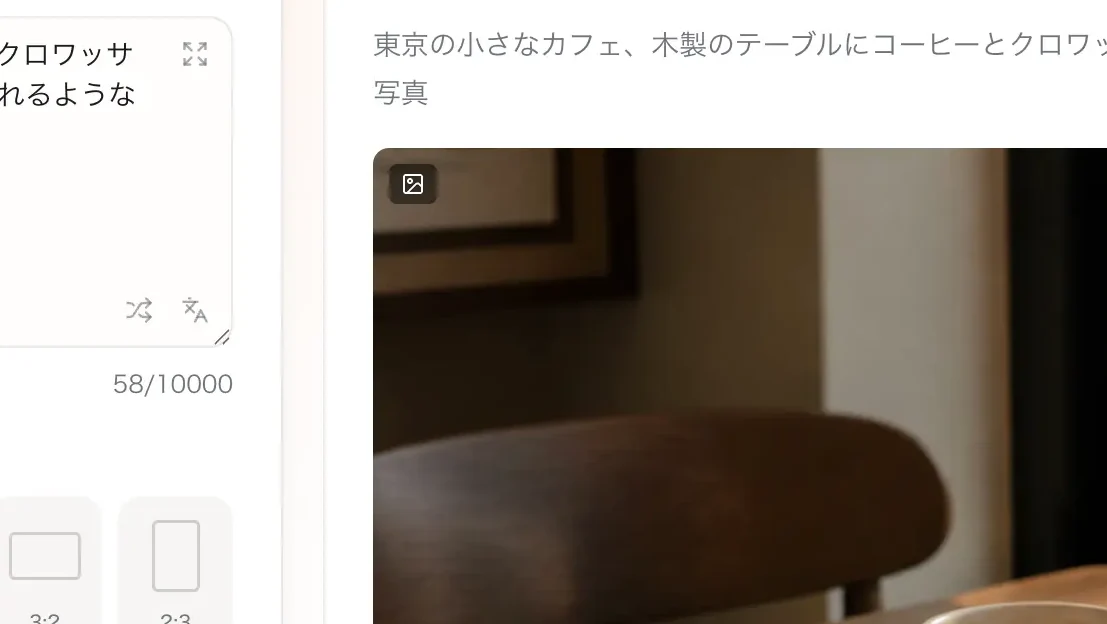
You can create a scene that feels photographed without building a real set. Describe the light, camera angle and time of day to guide the result.
An anime-style illustration
A student reading a book beneath cherry blossoms, petals drifting
in a spring breeze, soft pastel colors, delicate linework,
anime-style illustration.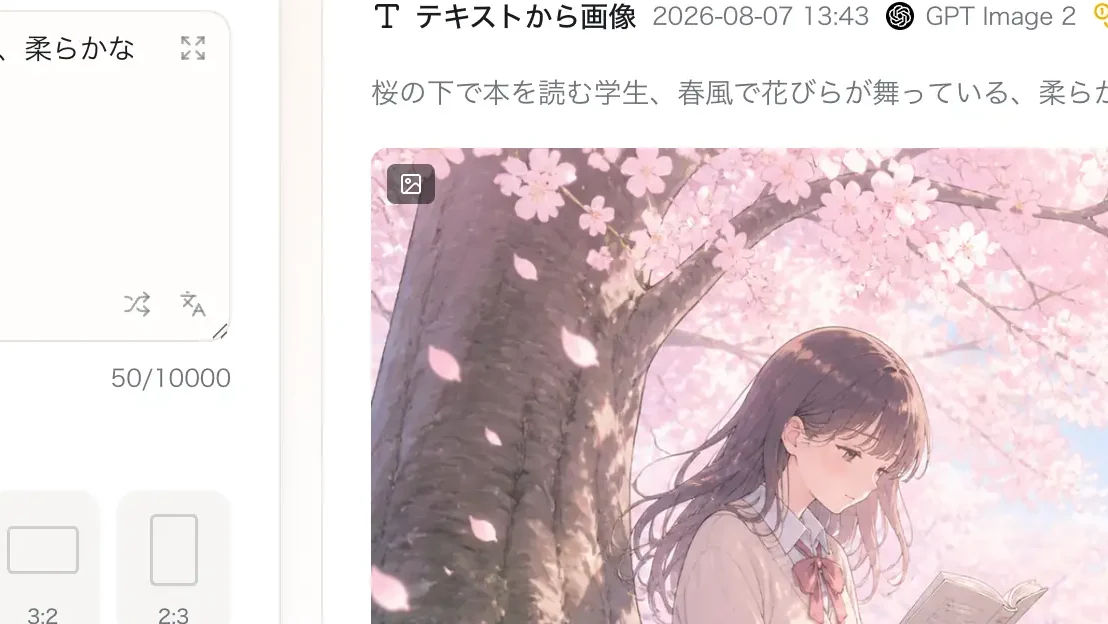
“Anime,” “watercolor” and “flat illustration” lead to different visual results. Choose the medium first, then add the line quality, palette and amount of detail you want.
A clean product image
A clear skincare toner bottle centered on a white display platform,
bright studio lighting, a pale blue background, clean premium product
photography, square composition.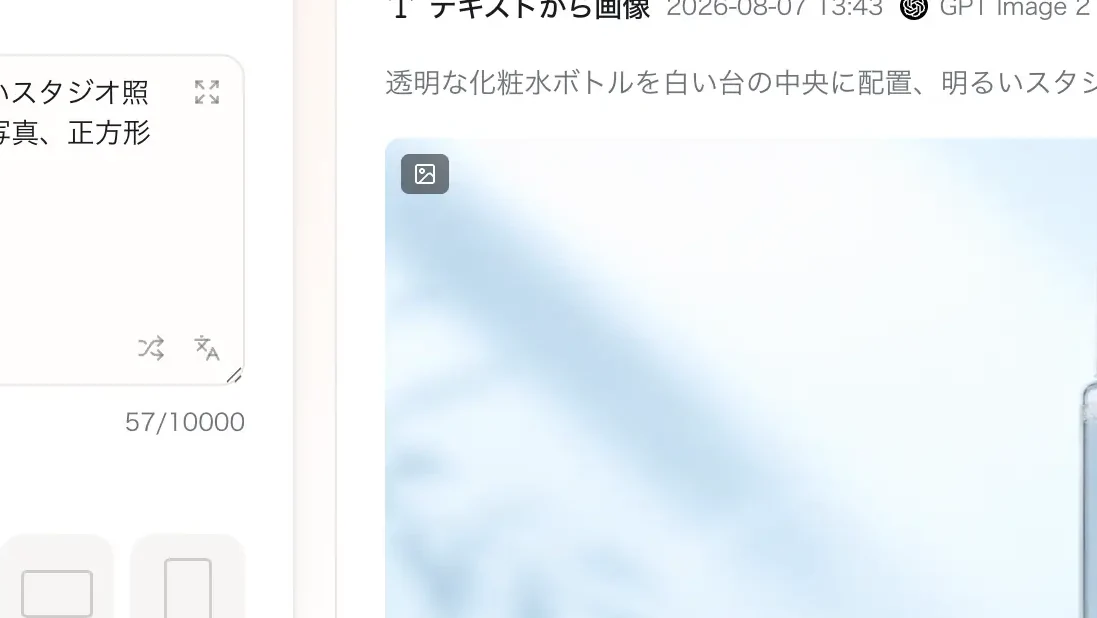
A text-only prompt creates a product concept. To show an actual item you sell, use Image to Image with your own product photo and check that the packaging, proportions and label stay accurate. A beautiful invented bottle is not a substitute for the real product.
How to choose an AI image generator
Pick a tool around the images you need, rather than treating one model as the best at everything.
- Photography: inspect skin, hands, reflections and material texture.
- Illustration: look at linework, composition and how closely the result follows the requested style.
- Text in images: check every character, number and line break.
- Product edits: compare the output with the reference for changes to shape, labels and color.
- Workflow: consider credit costs, editing controls, image sizes and whether you can switch models easily.
Our AI image model comparison shows the actual first outputs from five models, including their mistakes and recorded generation times. Those tests used Japanese prompts; the article explains the setup and provides English reading translations.
Can you create AI images for free or on a phone?
Mireka offers free credits to try image generation, including the account and check-in offers shown in the product. Review the available balance and the cost displayed before generating. Free credits are a starting allowance, not unlimited generation, and different models or resolutions can cost different amounts.
You can also use Mireka in a smartphone browser. Write a short first prompt, choose the intended aspect ratio and inspect the downloaded image at full size. For detailed product labels or hands, zoom in rather than judging only the small preview.
Before using an image for a business, review the current plan details. Mireka's Free plan does not include commercial use; check the terms and entitlements of the plan you choose.
Five ways to get better results
- Name the main subject first. Make it clear what the image is about before adding atmosphere.
- Describe visible details. “Soft side lighting and a muted green palette” is easier to act on than “make it amazing.”
- Plan the layout. Ask for negative space where a headline will go, and choose the final aspect ratio early.
- Change one thing per revision. This makes it easier to see which instruction improved the image.
- Switch models when necessary. Repeating the same prompt many times may be less useful than trying a model better suited to the task.
If an existing image is almost right, use it as a reference and describe the specific edit. State what must stay unchanged as well as what should change.
What to check before publishing
Review the output as carefully as any other visual asset. Check that important details are accurate, that you have permission to use uploaded photos and brand assets, and that your chosen plan supports the intended use. Avoid putting confidential documents or personal information into a prompt unless you are authorized to share them with the service.
Do not use a generated product image to imply an unverified feature or specification. For realistic people, consider whether the image could be mistaken for a photograph of an actual person or event and label the content where appropriate.
Frequently asked questions
Do I need drawing skills to create AI images?
No. You can start by describing the subject, setting, style and mood in plain language. Drawing skills can help with art direction, but they are not required to generate a first image.
Do I need special prompt syntax?
No. Clear, natural sentences are a good starting point. Describe visible details and avoid instructions that contradict each other.
Can I write prompts in languages other than English?
Yes, when the model supports the language. Mireka accepts prompts in English and other languages, including Japanese. Understanding a prompt and accurately rendering text inside an image are different capabilities, so check both when they matter.
Can I create AI images on my phone?
Yes. Mireka works in a smartphone browser. Choose the aspect ratio for your intended use and zoom in to review small details before publishing.
How can I make my AI images look better?
Specify the subject, setting, style, composition and light. Review the output, adjust one detail at a time, and try another model if an important requirement is repeatedly missed.
Can I use AI-generated images commercially?
Mireka's Free plan does not include commercial use. Review the current pricing page, your plan's terms and the rights to your input materials before using an image for business purposes.
Is creating an AI image the same as building an AI model?
No. This guide uses an existing image generator. Training a model, running Stable Diffusion locally, connecting an API or training a LoRA are separate technical workflows.